Quick Installation Guide
In order to make the DCM installation as easy as possible we rely on a predefined ISO image, which contains an operating system and all necessary packages. You do not have to download Setups. This will do the DCM for you. In order to install the DCM the following steps need to be done:
- Download and boot the ISO image
- Boot the DCM system
- Use DCM configurator
- Connect to GUI
Ports
The following ports will need to be open for the host system:
- 443
- 8443
- 22 (optional for ssh connection)
- 873 (rsync, only outgoing) for DEVICE SECURITY updates
More information is available here
Download and boot the DCM ISO image
First of all the ecm.iso needs to be downloaded. The ISO file can then be either booted
inside a virtual environment or on a bare metal server. In either of those settings
several requirements need to be set. The minimal requirements are as following:
- 50 GB Hard Disk Space
- 2 Core (1.4GHz, 64 Bit, x86 Processor)
- 8 GB RAM
- 1 Gigabit Network Interface
- SecureBoot disabled
Note
In order to boot on a bare metal server the image needs to be burnt to a CD or be flashed to a USB drive.
Note
The DCM will install on hard drives with more storage, but will not utilize the available space right away. At the end of the configuration step a prompt will ask whether the partition should be resized to use the whole partition. For more information on the partition, see System/Partitions
The system supports Legacy BIOS and UEFI.
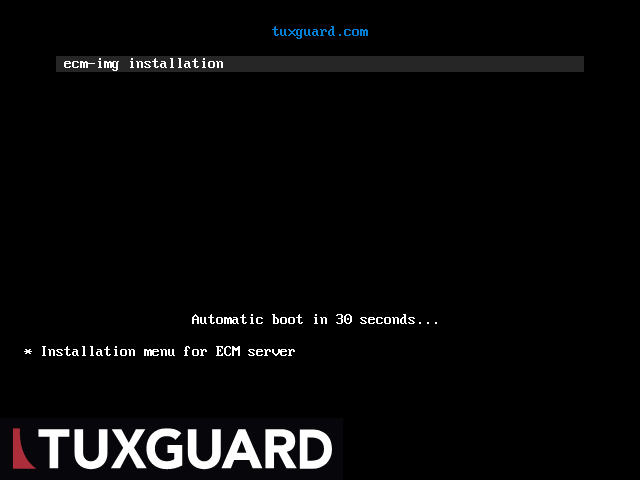
- After a successful boot the TUXGUARD bootloader menu will show up, which can be confirmed with enter:
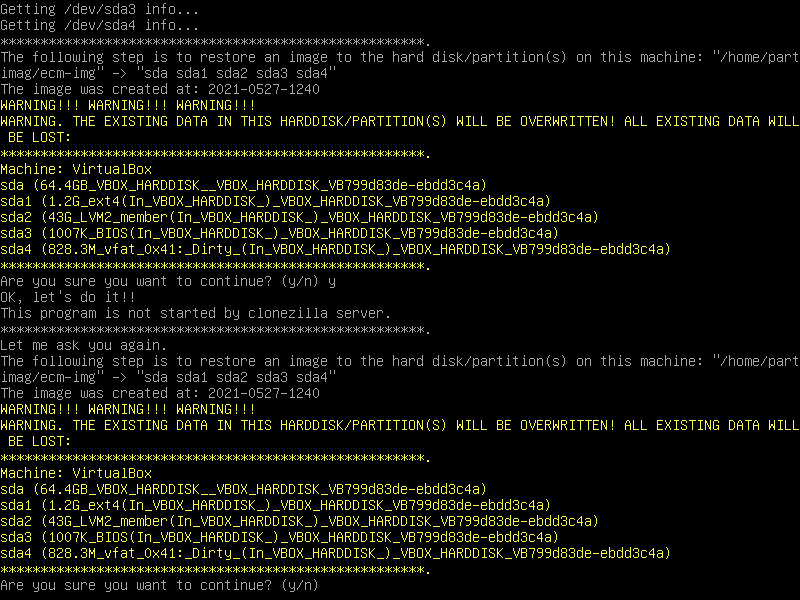
 2. Following some security checks, the user will be prompted by a disclaimer which needs to be accepted twice:
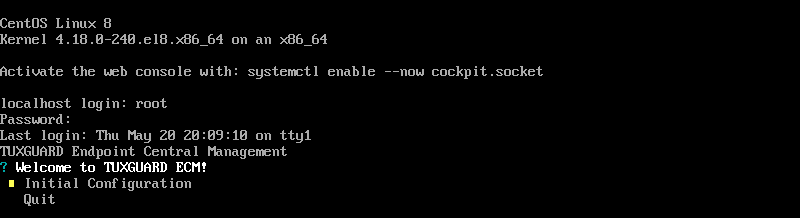
Boot the DCM system
The system will reboot automatically and prompt the user with a login screen, for which the credentials are as following:
- Username:
root - Password:
tuxguard
Note
After the first boot the user will be prompted to change the default password.
Use DCM configurator
After logging in, the user will be welcomed by the DCM configurator. Here we are able to set our network configuration and some general first configurations.
See the configurator section for more information.
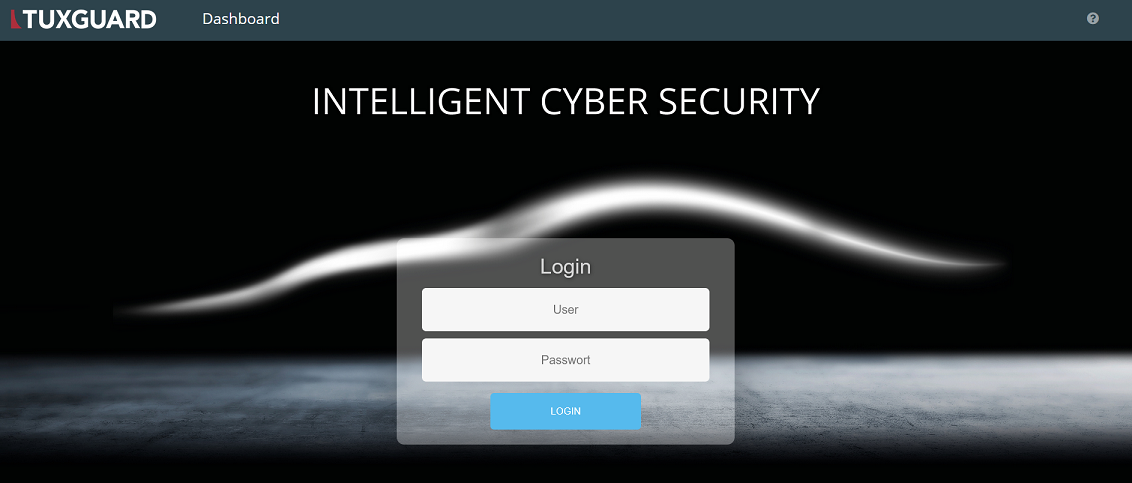
Connect to GUI
The last step is simply using the DCM. At the end of the configurator we will see the URL under which the GUI can be accessed. Following this URL we are greeted by the DCM Login Screen. Here we use the default super user:
- Username:
sysadm - Password:
sysadm
Info
On first login the user will be prompted for a new password of the sysadm user.